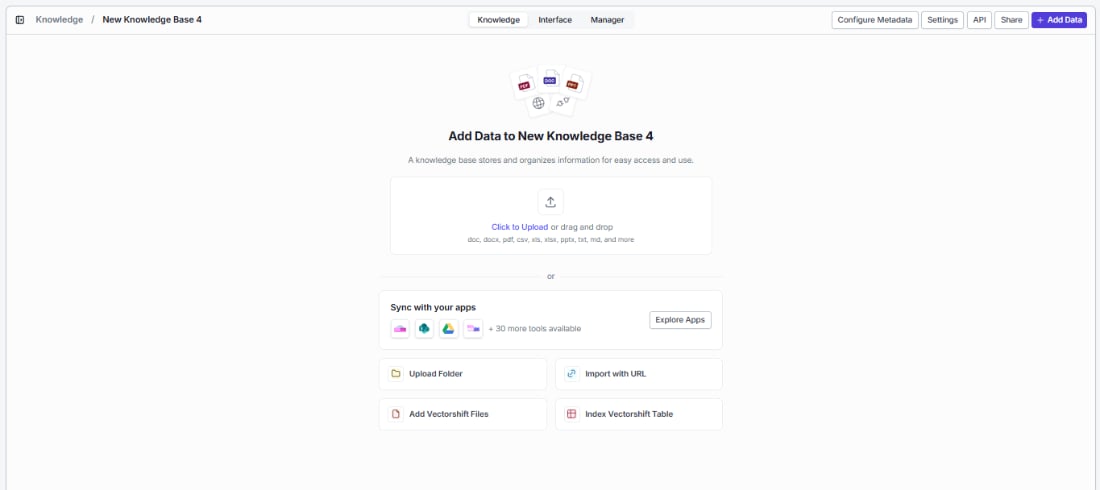
Upload files
The fastest way to get started — drag and drop files directly into the upload zone, or click Click to Upload to browse your computer.
Once you select files, they appear below the upload zone with their name and file size so you can review before processing:
- Click Delete next to any file to remove it from the queue.
- Click Index Files to start processing. VectorShift automatically chunks, embeds, and indexes everything using your configured settings.
Upload folder
Need to index an entire directory at once? Click Upload Folder to select a folder from your machine. All supported files inside are uploaded and indexed together, and the folder structure is preserved in your knowledge base for easy organization.Add integration
Keep your knowledge base automatically up to date by connecting the tools your team already uses. Click Explore Apps in the Sync with your apps section to browse available integrations and pull data directly into your knowledge base.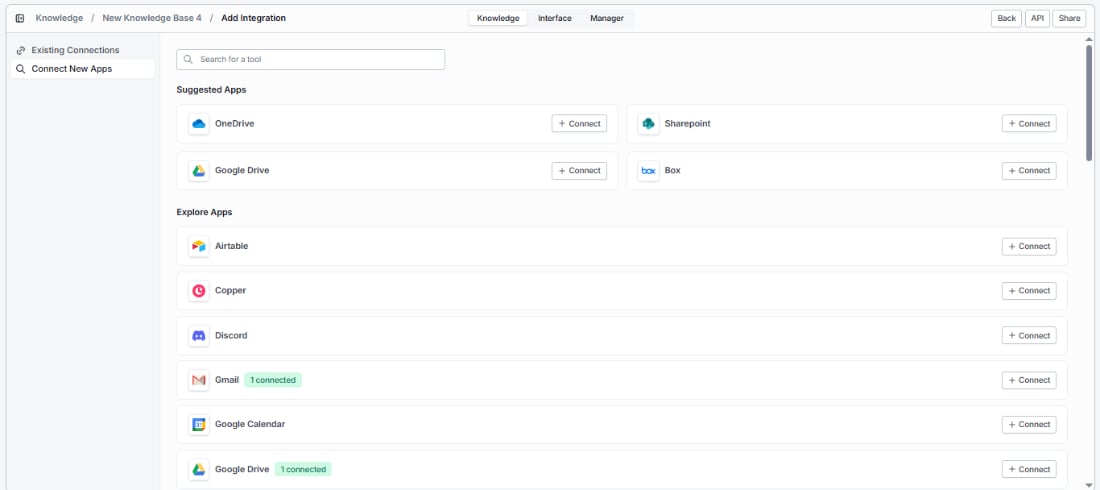
- Existing Connections — apps you’ve already connected, showing their status (e.g., Gmail with 1 connected, Google Drive with 1 connected). Click any connected app to select which data to pull in.
- Connect New Apps — browse all available integrations. Suggested Apps appear at the top for quick access, with the full list under Explore Apps. Use the search bar to find a specific app, then click + Connect to authenticate.
Adding a new integration
Find the app you want under Connect New Apps and click + Connect. Complete the authentication flow to grant VectorShift access, and the integration will appear under Existing Connections — ready to pull in data.
Selecting an existing integration
Already connected an app? Click on it under Existing Connections to choose exactly which data to bring in — specific files, folders, channels, or other items depending on the app.
Updating permissions
Need to expand or restrict what VectorShift can access? Click on the integration under Existing Connections and modify the access scope — no need to disconnect and reconnect.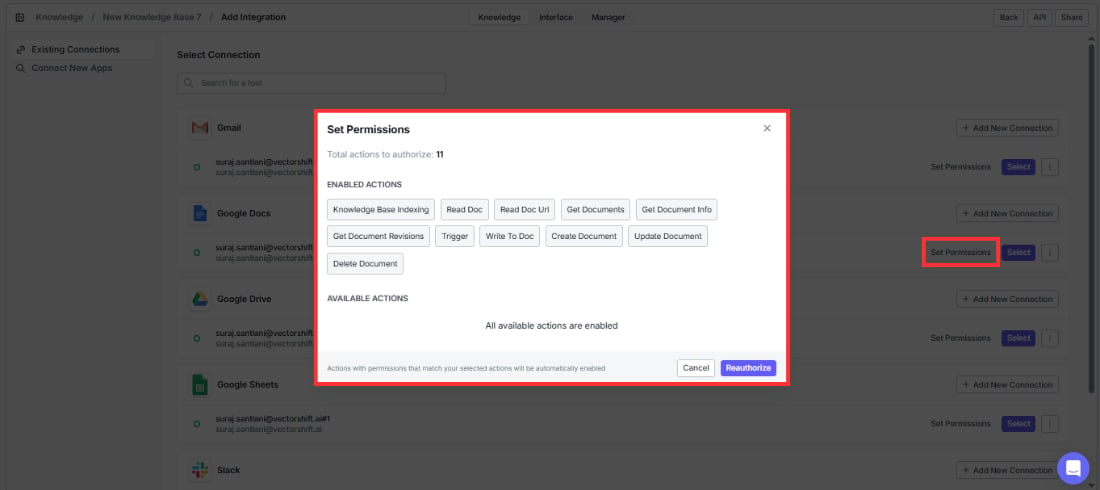
Setting a default account
If you have multiple accounts for the same app (e.g., two Slack workspaces), set one as the default so the right data flows in automatically.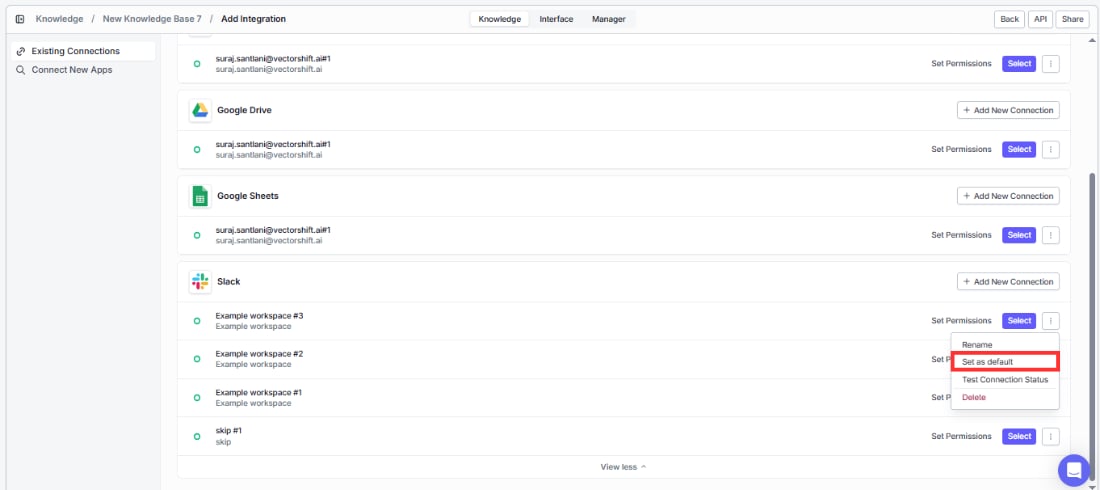
Testing connection status
Connected integrations show the number of active connections at a glance. If a connection has issues, re-authenticate by clicking + Connect again to restore the sync.
Changing rescrape frequency
Control how often VectorShift checks for new or updated content from your integrations. More frequent syncing keeps search results fresher; less frequent syncing reduces processing load.Import with URL
Make any web page or entire website searchable. Click Import with URL to scrape content and add it to your knowledge base.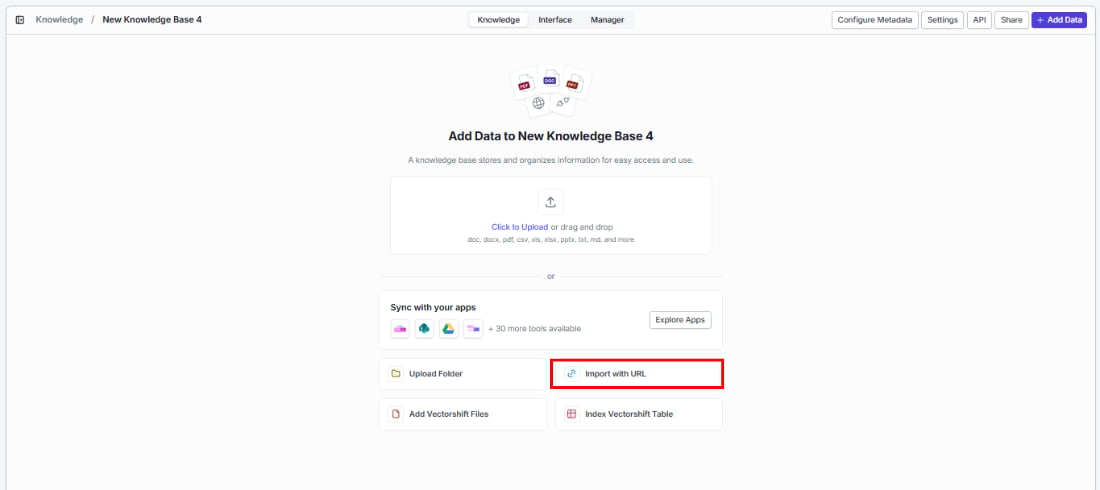
Rescrape frequency
Keep your indexed web content up to date automatically. Choose how often VectorShift re-scrapes the URL to pick up changes:
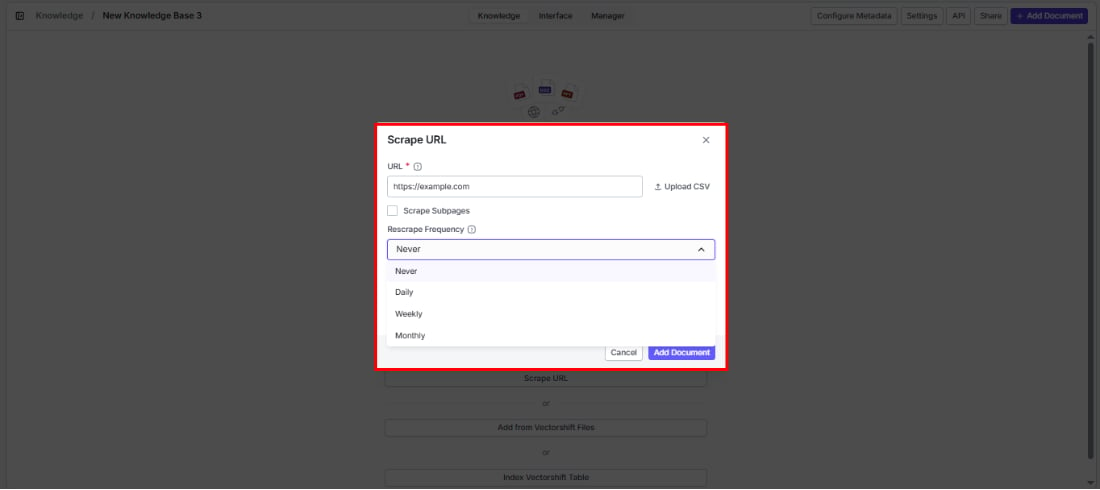
- Use Proxy: Route the scrape through a proxy — helpful when the target site blocks direct requests.
- Use Personal Apify key: Use your own Apify API key for more control over web scraping. You can enter it here in the URL indexing dialog or in the knowledge base’s advanced settings.
Add from VectorShift files
Already have files in VectorShift’s file storage? Reuse them here instead of uploading again. Click Add VectorShift Files to browse and select files.
- Use the search bar to find a specific file.
- Navigate folders starting from Home.
- Select one or more files using the checkboxes.
- Click Add to import the selected files into your knowledge base, or Cancel to close.
Index VectorShift table
Make your structured data — CRM records, product catalogs, inventories — searchable with natural language. Click Index VectorShift Table to select a table to index.
- Use the search bar to find a specific table.
- Navigate from Home.
- Select a table using the checkbox.
- Click Index to index the table’s data into your knowledge base, or Cancel to close.