Prerequisites
Method 1: Connect via the VectorShift UI
This is the recommended approach. VectorShift handles the OAuth flow for you.Step 1. Open the Export tab
Navigate to the Chatbots page, open the chatbot you want to deploy, and go to the Export tab. Select the Slack sub-tab.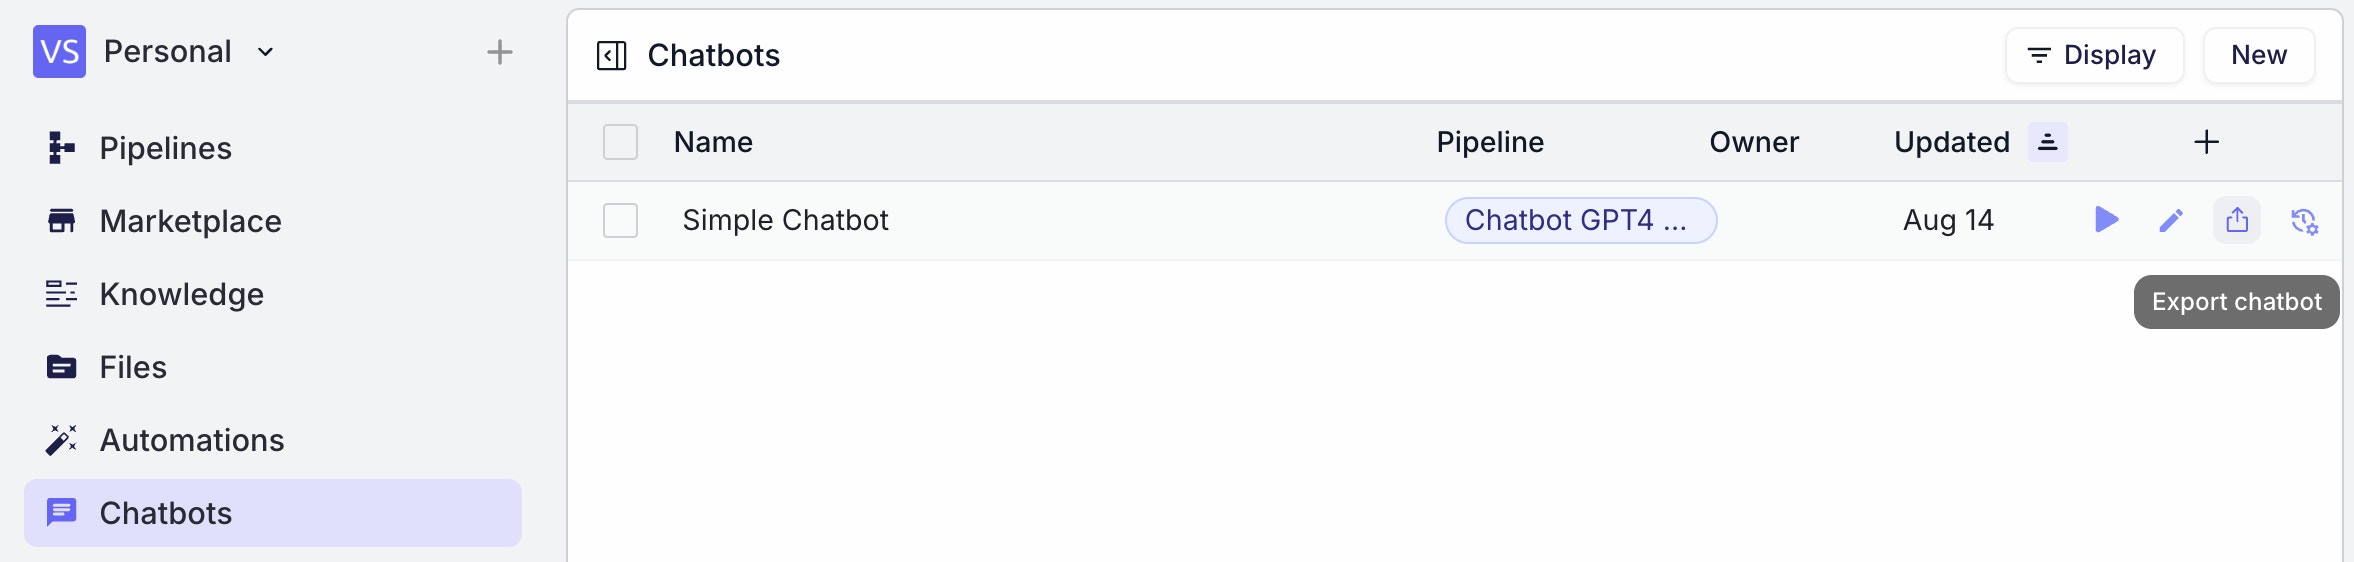
Step 2. Click “Connect Account”
Click the Connect Account button to start the OAuth flow. VectorShift will open a Slack authorization page in a new window.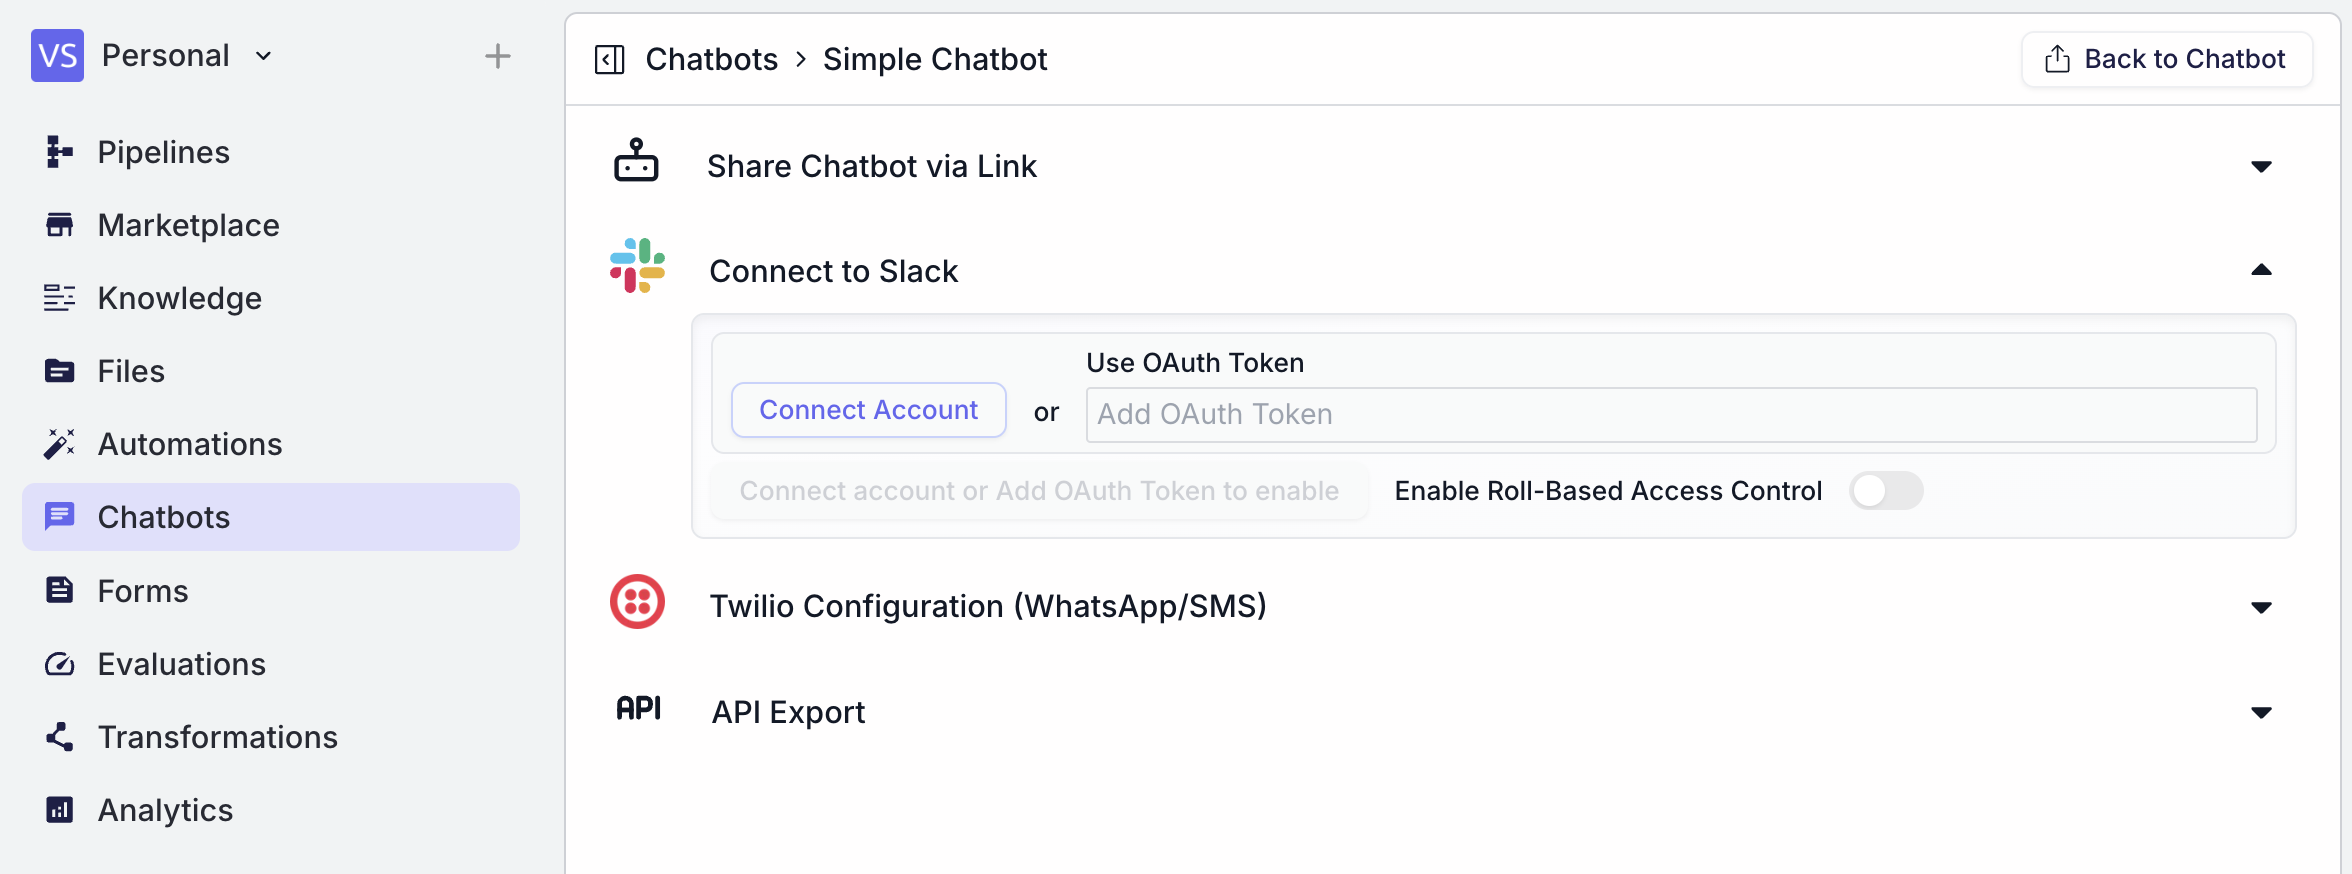
Step 3. Authorize the workspace
Select the Slack workspace you want to deploy to. Review the permissions VectorShift is requesting, then click Allow to grant access.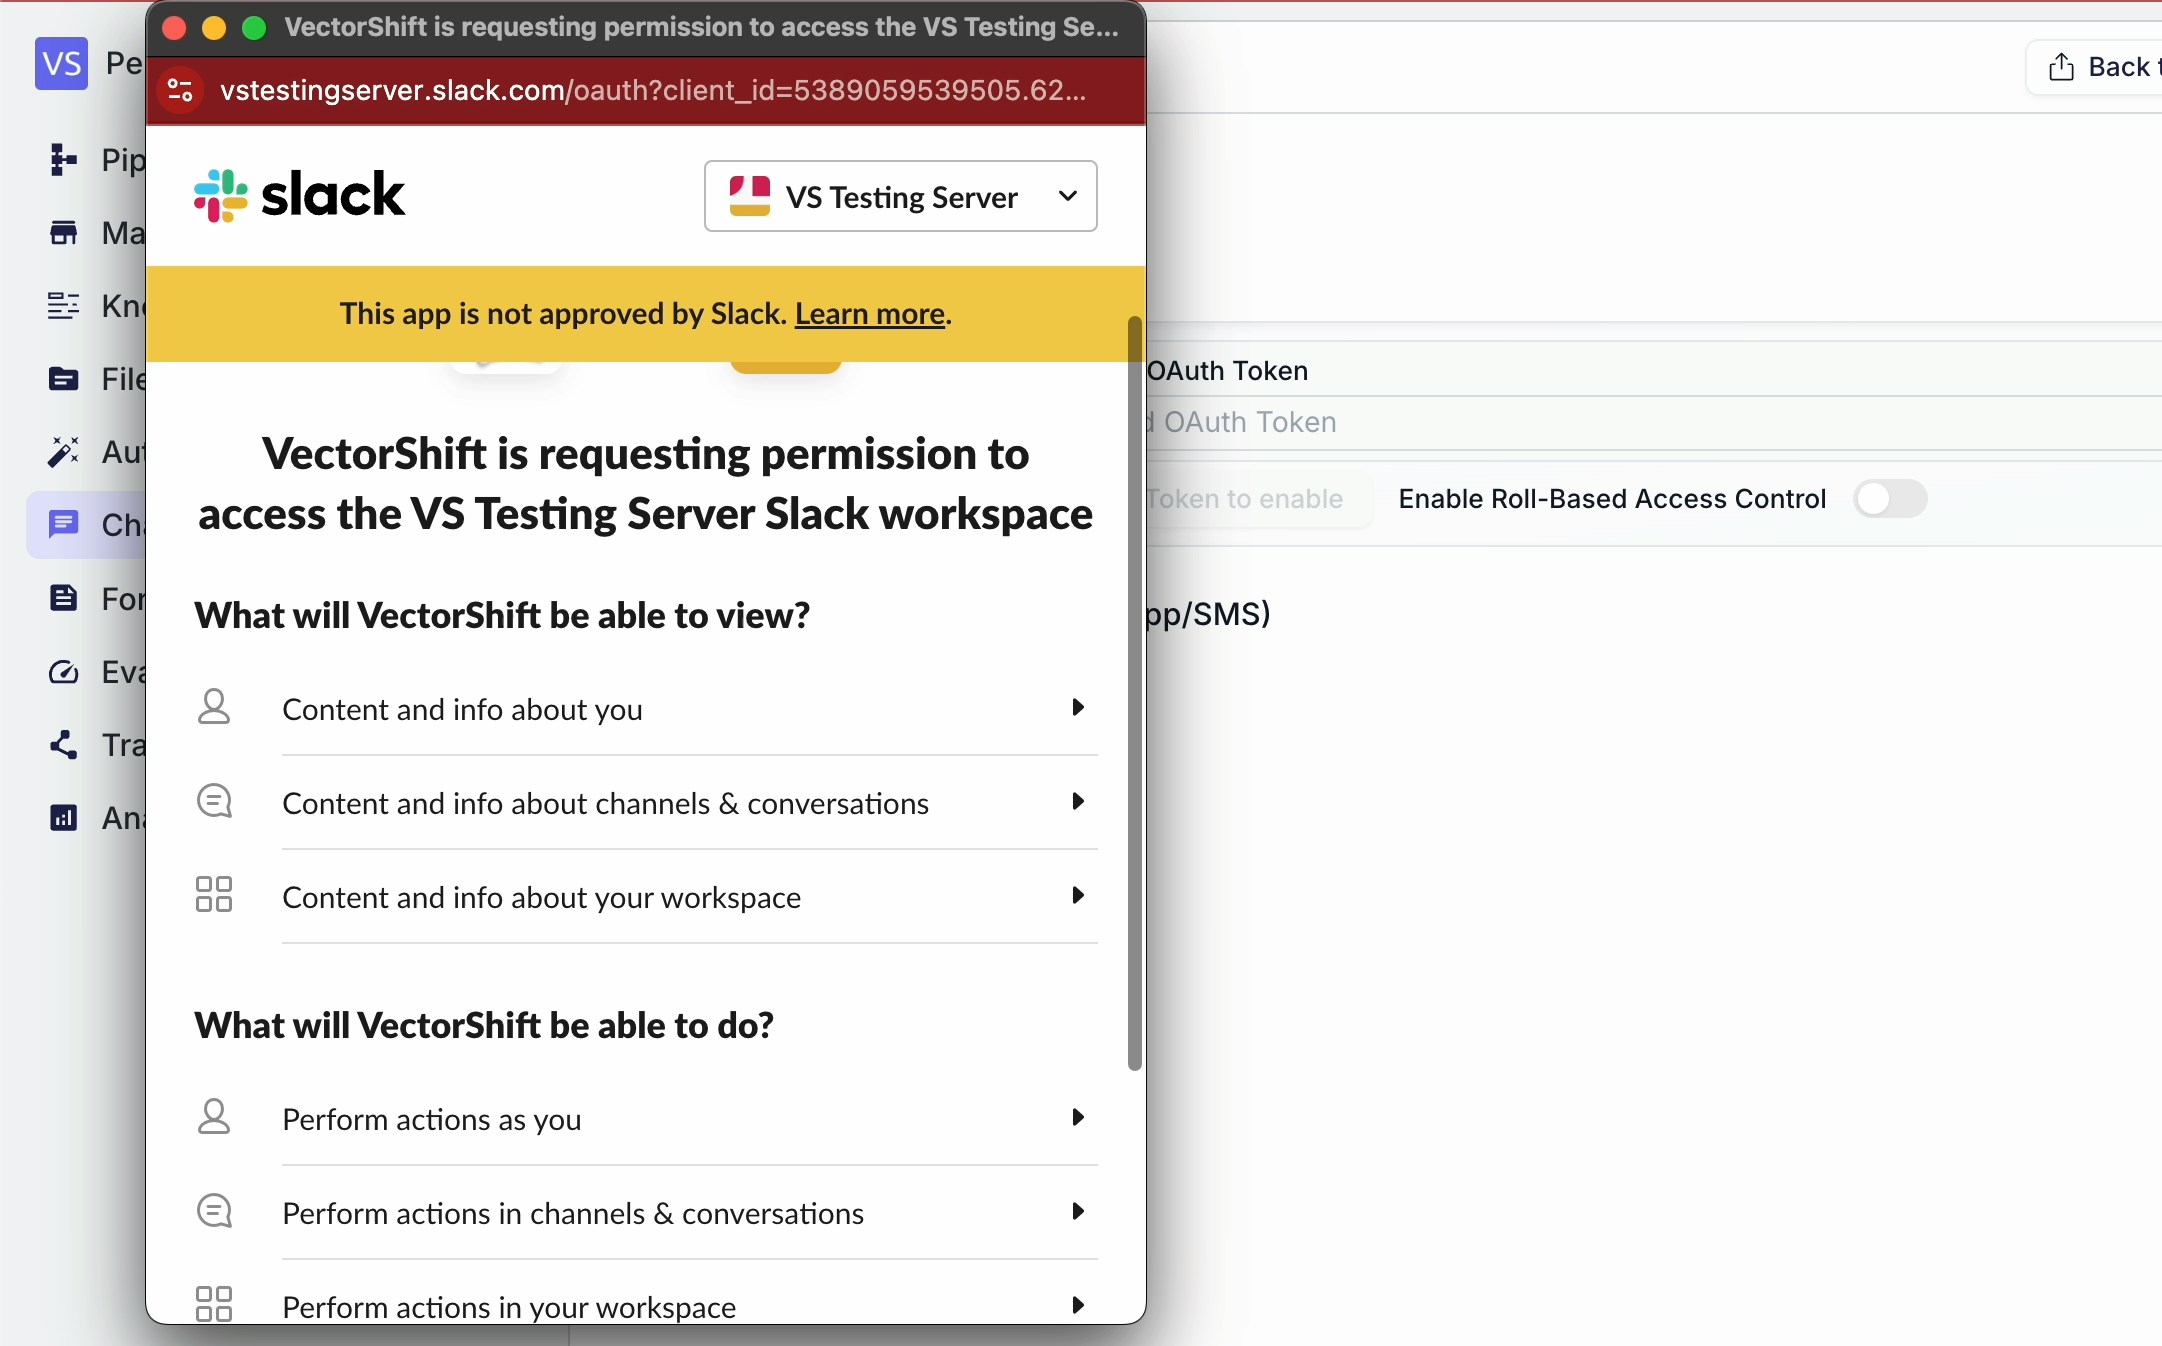
Step 4. Deploy to Slack
After authorization, you will be returned to VectorShift. Click Deploy to Slack to activate the bot in your workspace. You should now be able to find the bot in Slack’s direct messages and start chatting with it.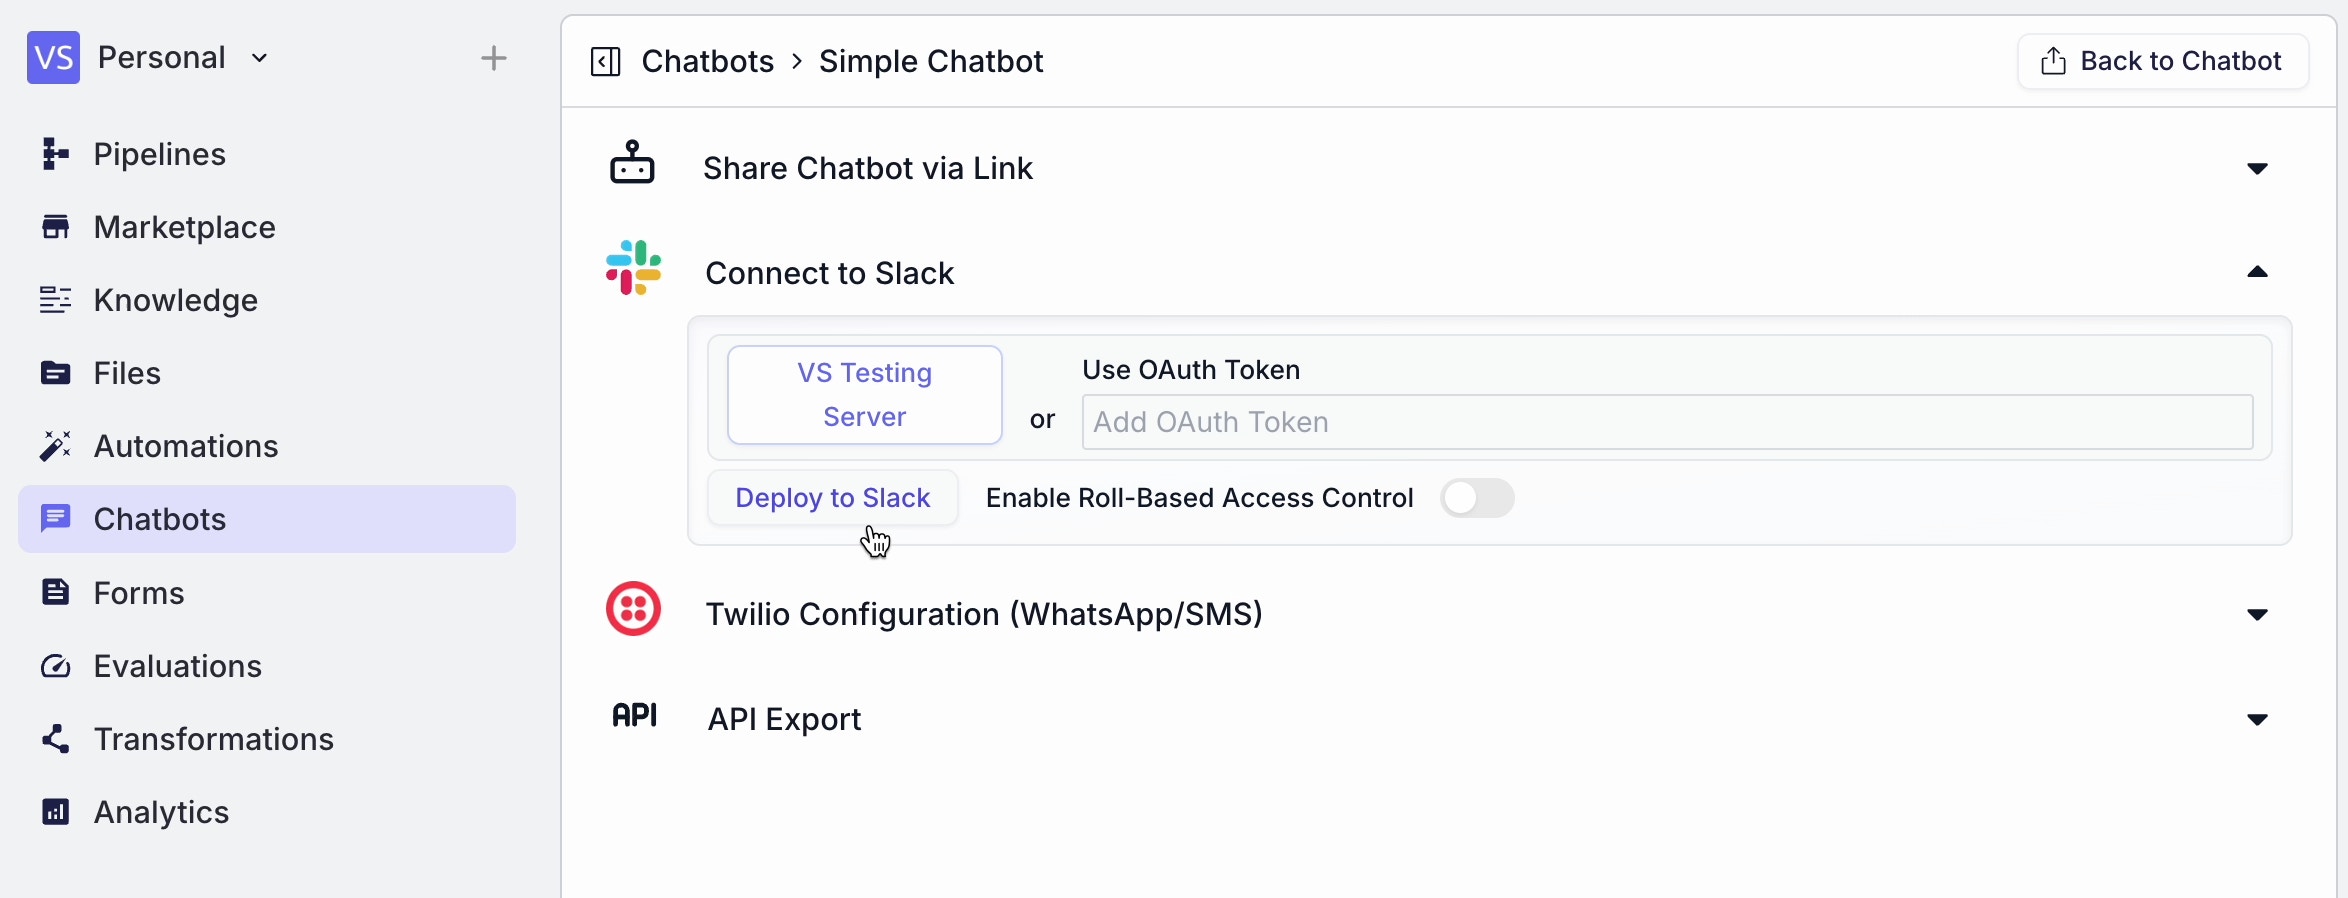

Method 2: Connect via a manually generated OAuth token
If you need more control over the Slack app configuration (for example, to set custom scopes or use an existing Slack app), you can generate an OAuth token manually and paste it into VectorShift.Step 1. Create a Slack app
Visit https://api.slack.com/apps and click Create New App. Follow the prompts to set up a new app in your workspace.
Step 2. Select your workspace
Choose the workspace where you want the bot to operate.
Step 3. Generate and copy the access token
Navigate to the OAuth & Permissions section of your Slack app. Install the app to your workspace and copy the Bot User OAuth Token that Slack generates.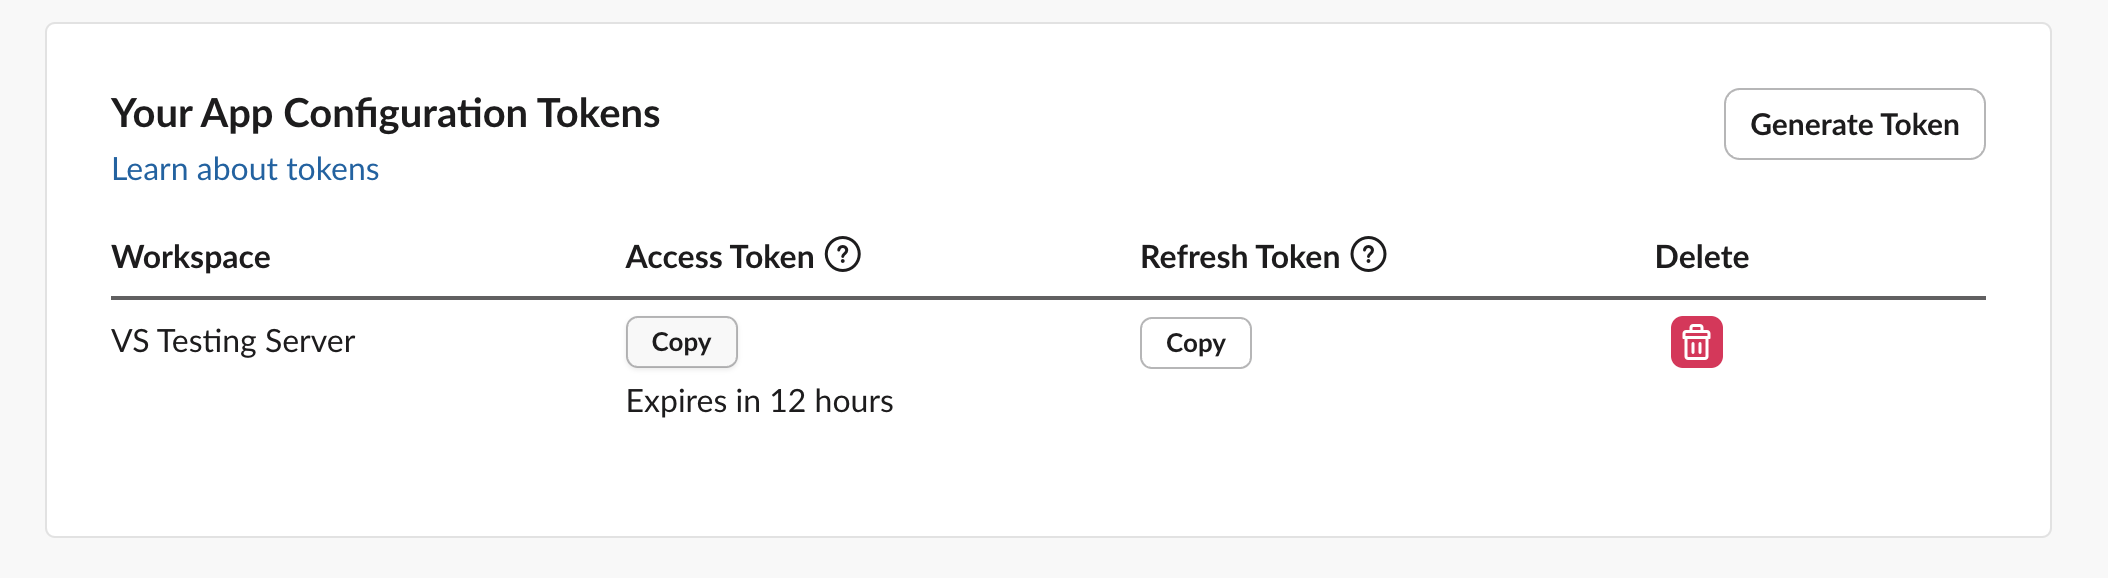
Step 4. Paste the token into VectorShift and deploy
Back in the chatbot’s Export tab under the Slack section, paste the OAuth token into the token field. Click Deploy to Slack. The bot is now active in your workspace.
Role-based access control (RBAC)
You can restrict who in your Slack workspace is allowed to chat with the bot by enabling Role-Based Access Control. When RBAC is on, only members of your VectorShift organization who have been granted access can interact with the bot. Other workspace members will be unable to chat with it. To enable RBAC, check the Enable Role-Based Access Control toggle in the Slack deployment section before clicking Deploy.Testing
After deployment, open Slack and find the bot in your direct messages (or in the Apps section of the sidebar). Send a test message to confirm the bot responds correctly. If RBAC is enabled, test with both an authorized and an unauthorized user to verify access control works as expected.Next steps
Deploy via WhatsApp and SMS
Connect to WhatsApp or SMS through Twilio
API access
Run the chatbot programmatically from your own application