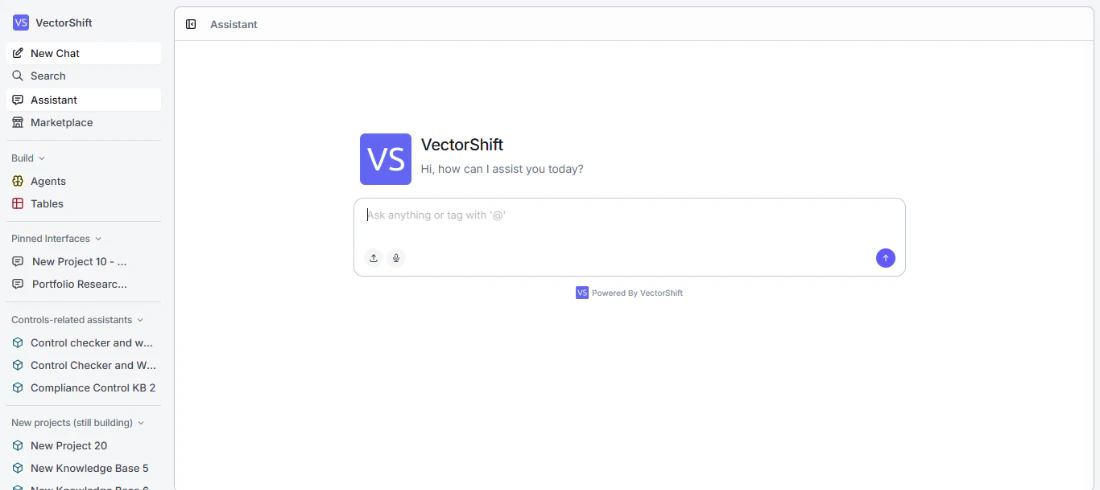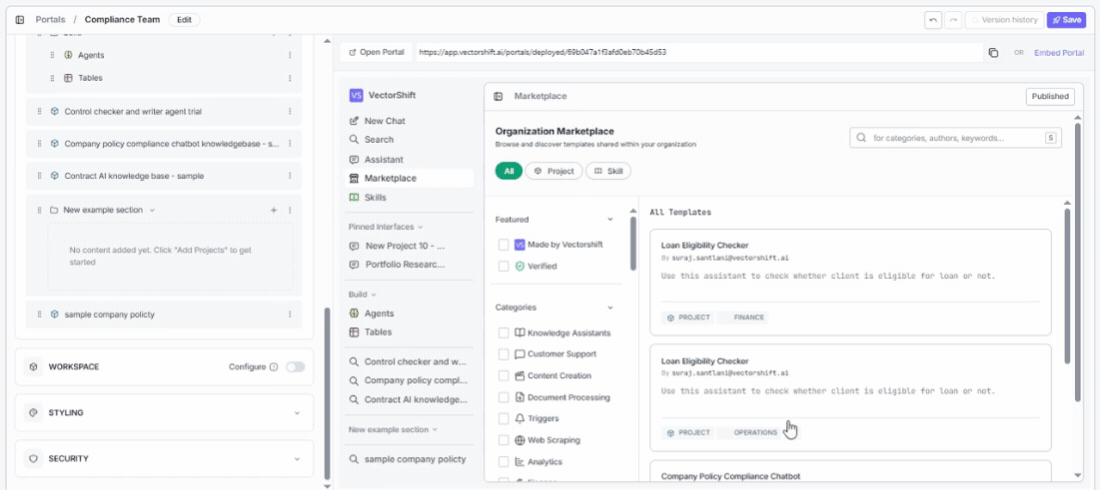
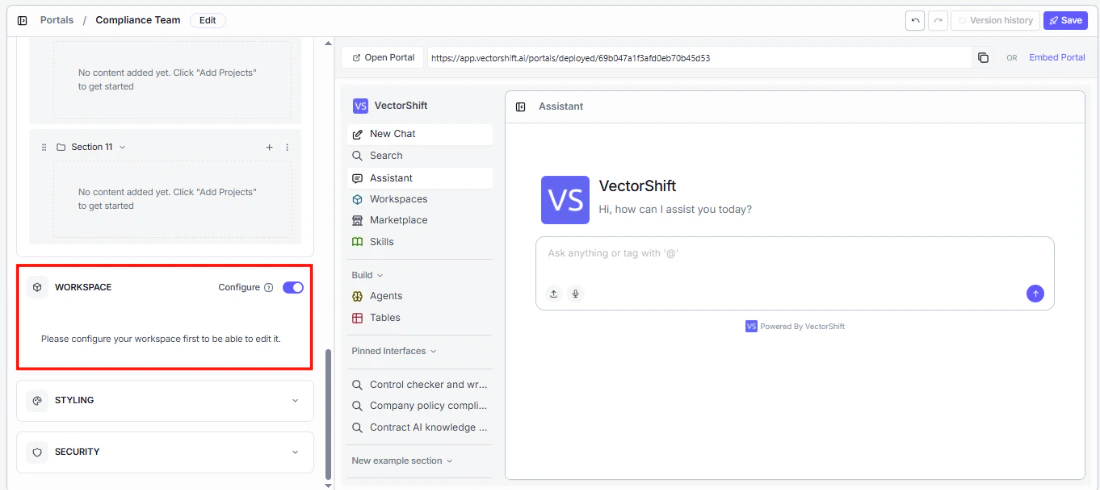
Enabling the workspace
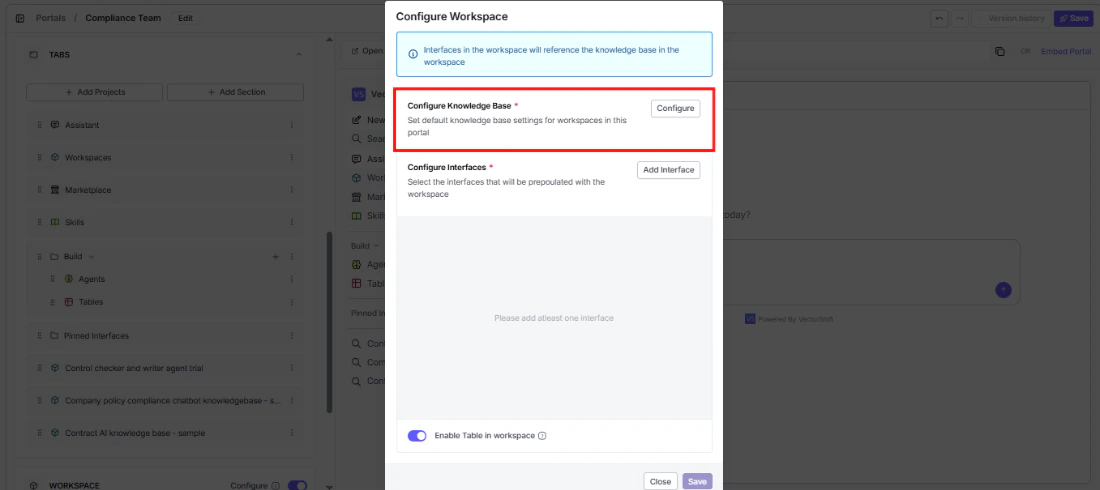
Configuring the knowledge base
The knowledge base is the foundation of each user’s workspace. Click Configure to set it up.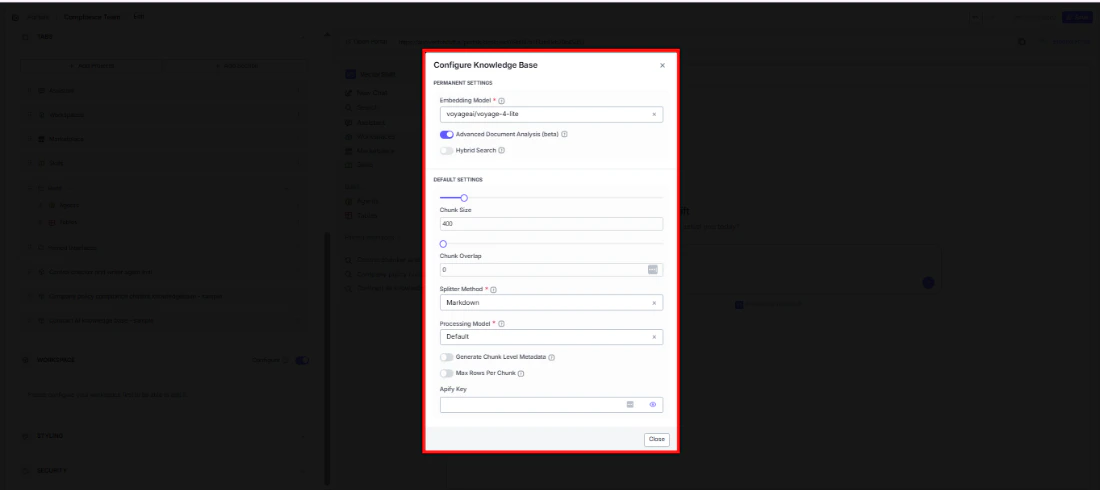
Permanent settings
These are locked after the workspace is created — choose carefully:- Embedding Model (required): How documents are converted into searchable vectors. Defaults to
voyageai/voyage-4-lite. - Advanced Document Analysis (beta): Enable deeper parsing for complex file types like scanned PDFs or mixed-format documents.
- Hybrid Search: Combine vector and keyword search for more accurate retrieval.
Default settings
Users can adjust these later:- Chunk Size: How large each document chunk is when ingested. Defaults to 400.
- Chunk Overlap: How much consecutive chunks overlap, to preserve context across chunk boundaries. Defaults to 0.
- Splitter Method (required): How documents are split into chunks. Defaults to Markdown.
- Processing Model (required): The model used during document processing. Defaults to Default.
- Generate Chunk Level Metadata: Automatically generate metadata for each chunk during ingestion.
- Max Rows Per Chunk: Set a limit on rows per chunk when processing tabular data.
- Apify Key: Enter your Apify API key if you want to enable web scraping integrations.
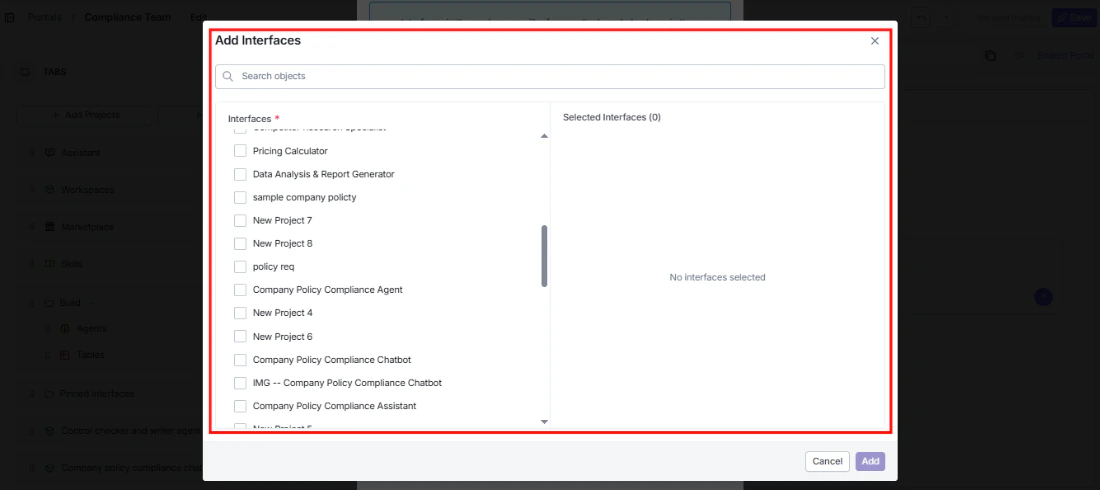
Configuring interfaces
Choose which interfaces will be ready to use in each user’s workspace from day one.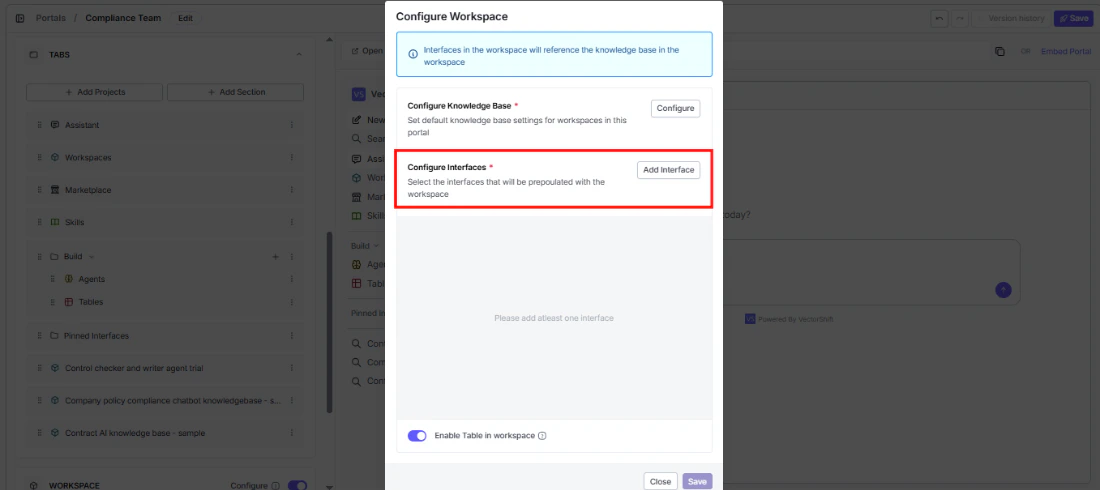
This means each user’s results come from their own uploaded documents, keeping data isolated between users.
Table templates
Give users a starting structure for their tables instead of making them build from scratch. Click Add Template to include one of your existing tables as a template.Enable table in workspace
Turn this on to give each user a personal table in their workspace — useful when users need to collect, organize, or analyze data alongside their knowledge base.What the workspace looks like inside
Once a user creates their workspace, they get their own knowledge base, preconfigured interfaces, and tables — all in one place.