Navigating to portals
You will find Portals in the left sidebar under the Interfaces section. Click Portals to open your Portals list.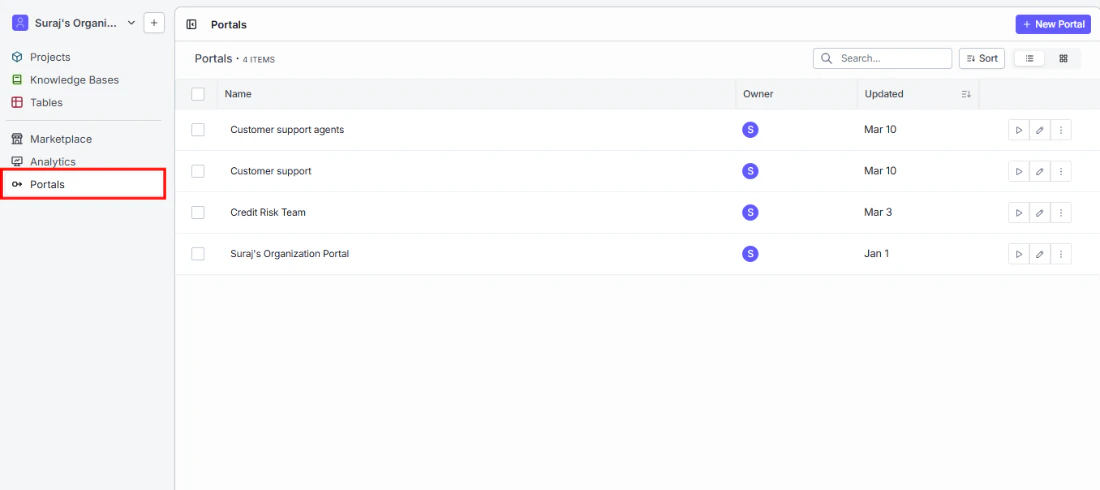
Creating a new portal
To get started, click + New Portal in the top right corner of the Portals list.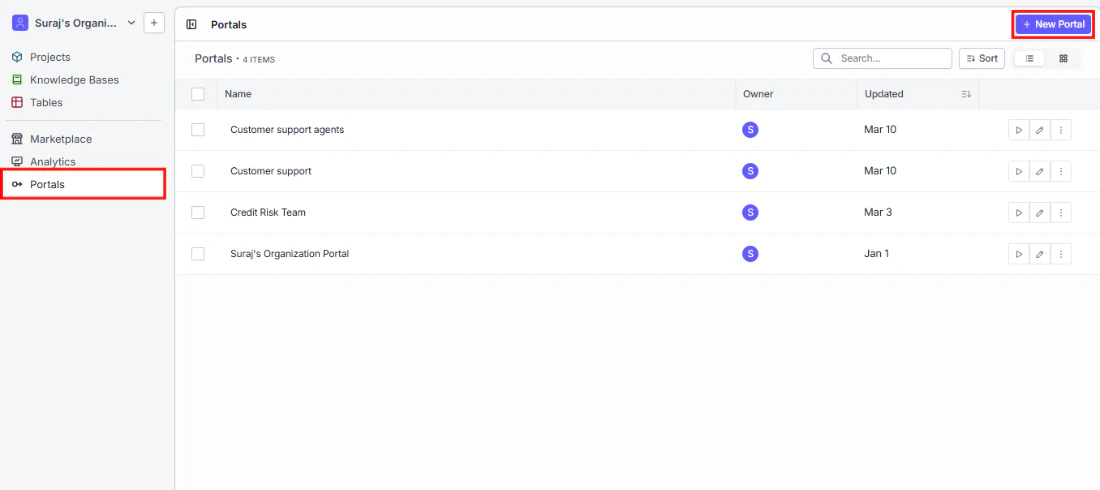
Portal name
Give your portal a name that makes its purpose clear to the people who will use it — for example, “Customer Support Agents” or “Credit Risk Team.” This name appears in your Portals list and at the top of the portal itself.Add a project to your portal
This is where you choose what your portal users will have access to.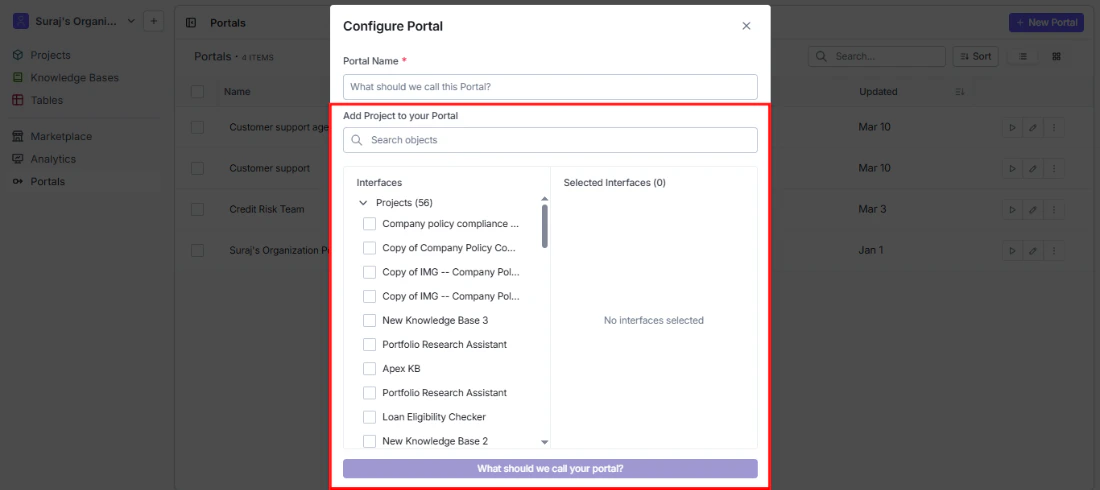
- Search bar: Quickly find the right interface by name.
- Interfaces panel (left): Browse all available projects in your organization. Check the ones you want to include.
- Selected Interfaces panel (right): Review your selections before confirming. Remove any item by clicking the x next to it.