> ## Documentation Index
> Fetch the complete documentation index at: https://docs.vectorshift.ai/llms.txt
> Use this file to discover all available pages before exploring further.
# Creating a chatbot
> Name your chatbot, connect an Agent or workflow, and run your first conversation
Your team is answering the same customer questions over and over: order status, return policies, shipping timelines. You have already built an Agent or a workflow that pulls answers from your knowledge base using an LLM. Now you need to put that in front of your customers as a chat interface they can use on their own.
That is exactly what creating a chatbot does. You give it a name, point it at your Agent or workflow, and VectorShift handles the rest: conversation history, a clean chat UI, and multiple ways to deploy it.
In this guide, you will build a customer support chatbot called "Order Support" for an online store. The workflow behind it has an input variable called `customer_message` and an output variable called `support_response`.
## Step 1. Open the Chatbots page
Click **Chatbots** in the left sidebar to open the Chatbots page. This is where all your chatbots live. You will see a list of any chatbots you have already created, along with a **New** button in the top-right corner.
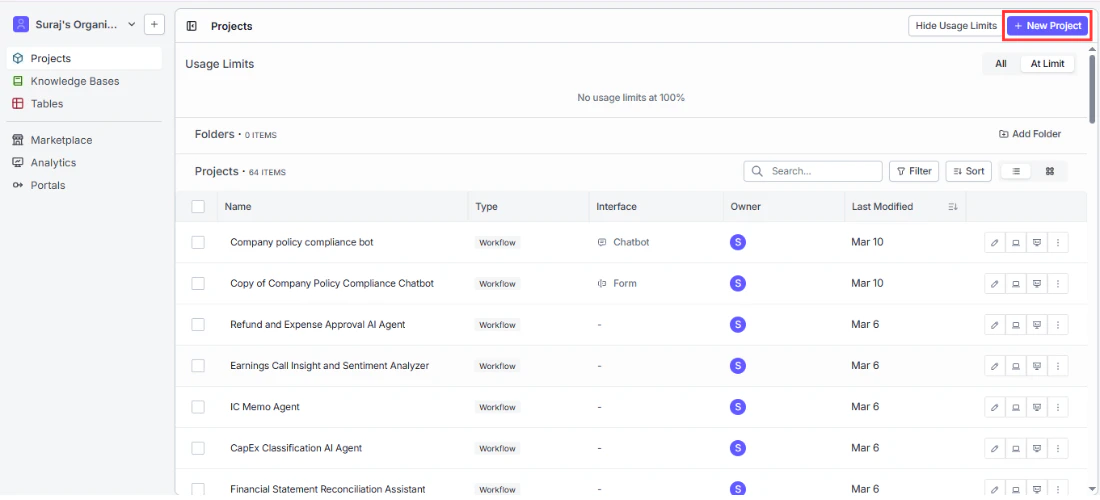 ## Step 2. Name your chatbot
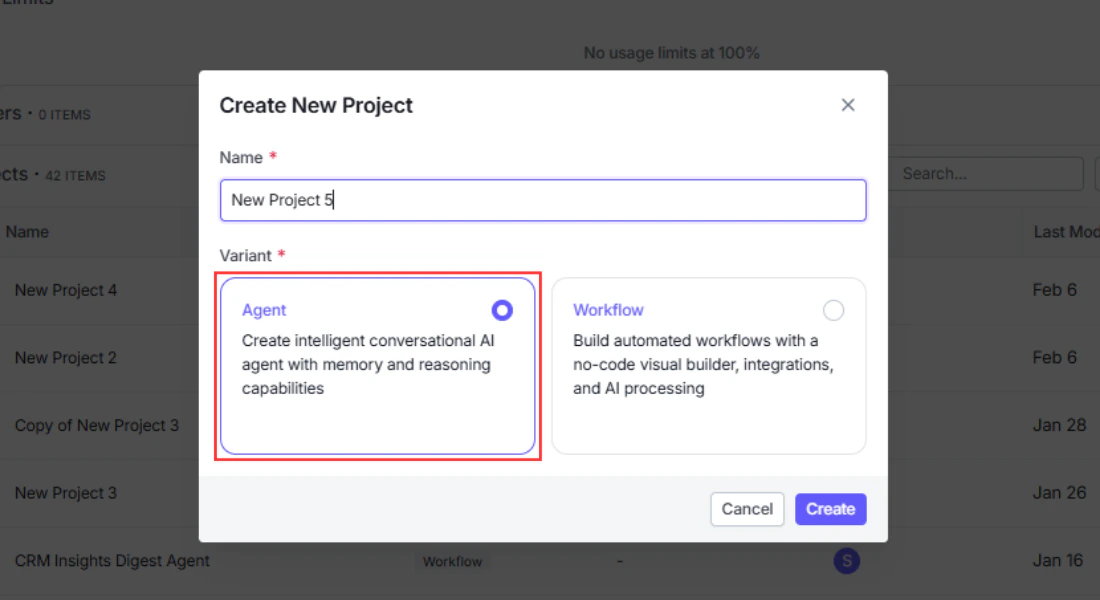
Click **New** to open the creation dialog. In the **Chatbot Name** field, enter a name that clearly identifies what this chatbot does. For our example, type `Order Support`.
Chatbot names must be between 2 and 80 characters and can only contain letters, numbers, spaces, dots, dashes, and underscores. Names must be unique across your account.
## Step 2. Name your chatbot
Click **New** to open the creation dialog. In the **Chatbot Name** field, enter a name that clearly identifies what this chatbot does. For our example, type `Order Support`.
Chatbot names must be between 2 and 80 characters and can only contain letters, numbers, spaces, dots, dashes, and underscores. Names must be unique across your account.
 ## Step 3. Select an Agent or workflow and map inputs and outputs
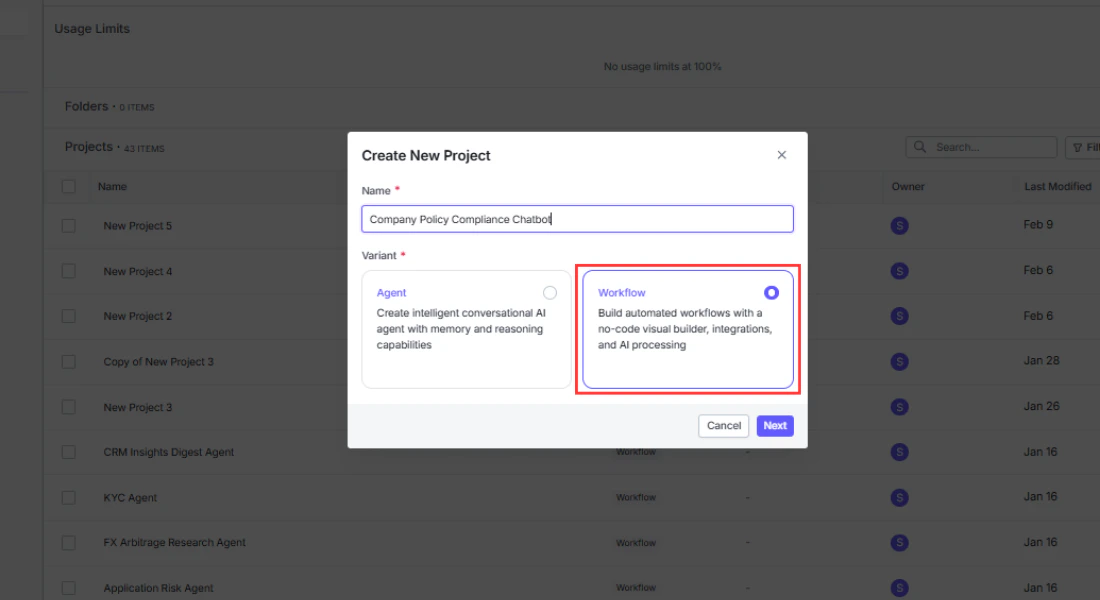
In the **Select Workflow** dropdown, choose the Agent or workflow that will power this chatbot. For our example, select the customer support workflow you built earlier.
Once you select a source, two additional fields appear:
* **Input** determines which variable receives the user's chat message. Select `customer_message`. Every time a user types something in the chat, their text is sent to this variable.
* **Output** determines which variable returns the chatbot's reply. Select `support_response`. Whatever value this variable produces at the end of the run becomes the message the user sees.
If your workflow includes a [Chat Memory node](/platform/pipelines/chat/chat-memory), the chatbot will automatically pass conversation history into it. This is what gives your chatbot the ability to reference earlier messages in the conversation. If your workflow includes a [Chat File Reader node](/platform/pipelines/chat/chat-file-reader), users will see a file upload button in the chat interface, allowing them to upload documents and ask questions about them. For Agent-based chatbots, conversation history is managed automatically.
## Step 3. Select an Agent or workflow and map inputs and outputs
In the **Select Workflow** dropdown, choose the Agent or workflow that will power this chatbot. For our example, select the customer support workflow you built earlier.
Once you select a source, two additional fields appear:
* **Input** determines which variable receives the user's chat message. Select `customer_message`. Every time a user types something in the chat, their text is sent to this variable.
* **Output** determines which variable returns the chatbot's reply. Select `support_response`. Whatever value this variable produces at the end of the run becomes the message the user sees.
If your workflow includes a [Chat Memory node](/platform/pipelines/chat/chat-memory), the chatbot will automatically pass conversation history into it. This is what gives your chatbot the ability to reference earlier messages in the conversation. If your workflow includes a [Chat File Reader node](/platform/pipelines/chat/chat-file-reader), users will see a file upload button in the chat interface, allowing them to upload documents and ask questions about them. For Agent-based chatbots, conversation history is managed automatically.
 ## Step 4. Create the chatbot
Click **Create Chatbot**. VectorShift validates your settings and creates the chatbot. It now appears in your chatbot list, and the chatbot builder opens automatically.
Each subscription plan has a limit on the number of chatbots you can create. If you have reached your quota, you will see an error at this step. See [Subscriptions](/account/subscriptions/overview) for details on plan limits.
## Step 4. Create the chatbot
Click **Create Chatbot**. VectorShift validates your settings and creates the chatbot. It now appears in your chatbot list, and the chatbot builder opens automatically.
Each subscription plan has a limit on the number of chatbots you can create. If you have reached your quota, you will see an error at this step. See [Subscriptions](/account/subscriptions/overview) for details on plan limits.
 ## Step 5. Run your chatbot
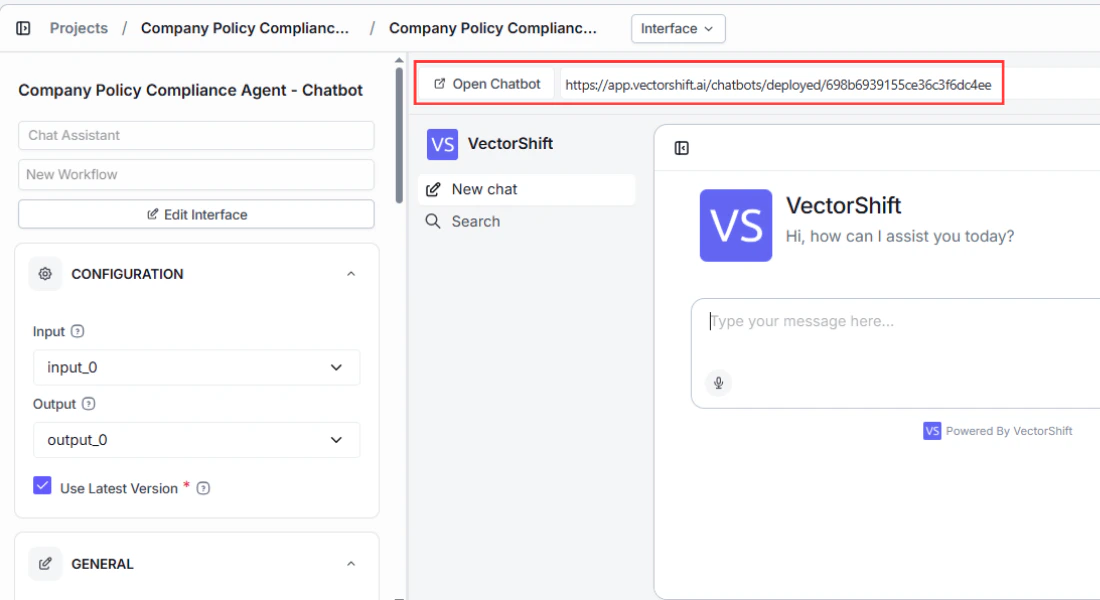
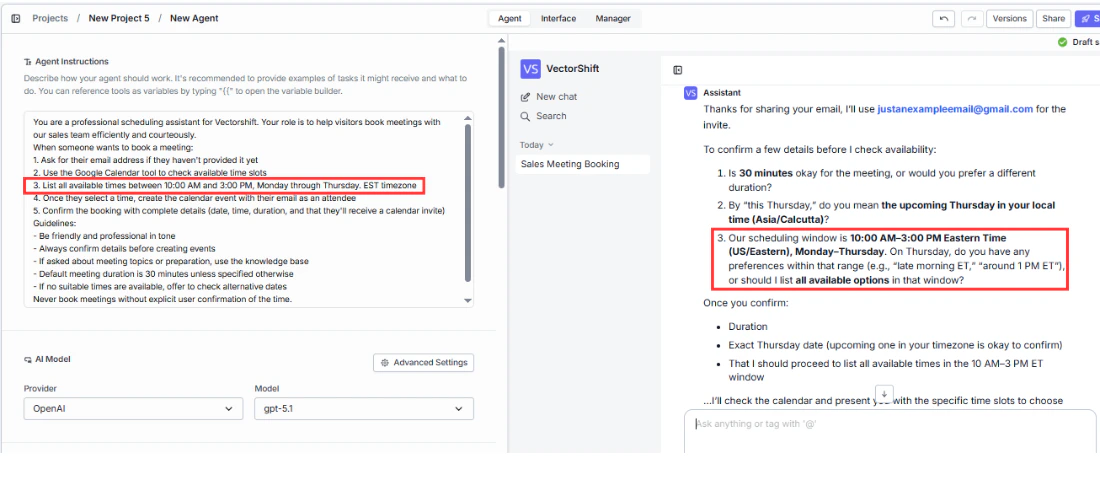
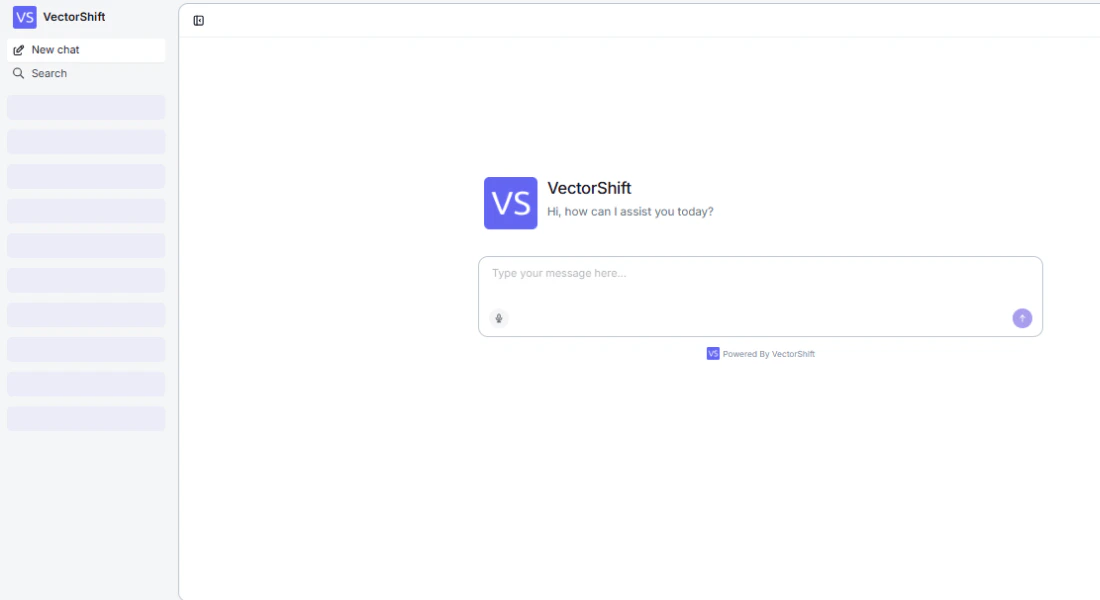
You can test your chatbot immediately from the builder. Click the **Run** button (or navigate to the chatbot in your list and click **Run**) to open the chat interface.
Type a message and press Enter. Your Agent or workflow runs with the message as input, and the response appears in the chat. You can start multiple conversations and switch between them using the conversation list on the left side of the chat window.
## Step 5. Run your chatbot
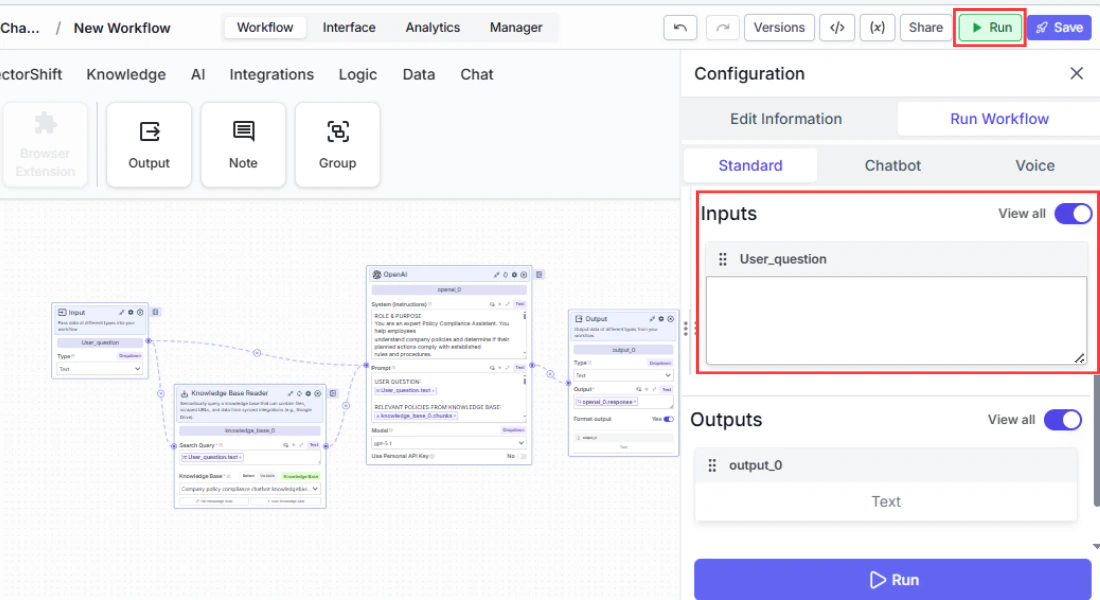
You can test your chatbot immediately from the builder. Click the **Run** button (or navigate to the chatbot in your list and click **Run**) to open the chat interface.
Type a message and press Enter. Your Agent or workflow runs with the message as input, and the response appears in the chat. You can start multiple conversations and switch between them using the conversation list on the left side of the chat window.
 ## Voice input
You can also use your voice to send messages. Click the microphone button in the message input area, speak your question, and click send. VectorShift transcribes your audio using Whisper and sends the transcribed text as your message.
## Voice input
You can also use your voice to send messages. Click the microphone button in the message input area, speak your question, and click send. VectorShift transcribes your audio using Whisper and sends the transcribed text as your message.
 ## Next steps
Your chatbot is running, but it still uses VectorShift's default branding and colors. Head to [Customizing your chatbot](/platform/interfaces/chatbots/customize) to make it look and feel like your product, or jump to [Sharing and deploying](/platform/interfaces/chatbots/deploying) to put it in front of your users.
Brand colors, welcome messages, avatars, and more
Share via link, embed on a website, or connect to Slack, WhatsApp, and SMS
## Next steps
Your chatbot is running, but it still uses VectorShift's default branding and colors. Head to [Customizing your chatbot](/platform/interfaces/chatbots/customize) to make it look and feel like your product, or jump to [Sharing and deploying](/platform/interfaces/chatbots/deploying) to put it in front of your users.
Brand colors, welcome messages, avatars, and more
Share via link, embed on a website, or connect to Slack, WhatsApp, and SMS